It took a fair amount of trial and error, but I finally managed to configure a stable, high-speed development environment routing through the specific locations I need. Looking back at how this session started, it was a solid reminder of how intricate modern network routing and security layers can be.
The goal was straightforward: I needed to route my traffic through a specific <region> node to maintain consistency for my cloud profiles, use tools like GCP without regional friction, and keep my background streaming smoothly.
To save time, I decided to try using some free configuration profiles from VPNBook. I hopped into my terminal and attempted a quick, automated download:
I hit enter, watched the transfer complete, and ran unzip.
The Problem
The terminal threw a critical error: End-of-central-directory signature not found. The archive file was completely unreadable.
The Lesson
I overlooked the fact that many public infrastructure providers protect their assets behind anti-bot verification layers. By targeting the zip file directly with a raw curl command, the host flagged the automated request and sent back an HTML error page instead of the actual zip archive.
The Fix
I dropped the automated approach, opened Firefox, cleared the website anti-bot verification page manually, and downloaded the clean configuration files directly through the browser.
Act II: The Working Tunnel and the Missing DNS Link#
With the uncompressed .ovpn files resting in ~/vpnbook, I set up a local auth.txt file to hold the credentials so I wouldn’t have to type them manually. I used a stream editor command to append this credential path to the profiles:
I picked a UDP profile on port 25000 and initialized it as root:
Terminal window
1
sudoopenvpn--configvpnbook-de20-udp25000.ovpn
The terminal log scrolled past and ended with a successful confirmation: Initialization Sequence Completed.
The Problem
Even though the tunnel was active, my internet connection was entirely non-functional. Web pages timed out, GCP, AWS, wouldn’t load, and my terminal tools couldn’t reach any external repositories.
The Lesson
I reviewed the log output more carefully and caught a specific warning right before the connection sequence finished:
Failed to set DNS configuration: Could not activate remote peer 'org.freedesktop.resolve1': unknown unit.
OpenVPN had established the network path to the remote node, but it expected the underlying operating system to handle domain name translation using systemd-resolved. Because EndeavourOS leaves this service disabled by default, my machine was securely inside the network tunnel but could no longer map text domain URLs to numeric IP addresses.
The Fix
I opened a separate terminal window and enabled the native system daemon to initialize the necessary D-Bus links:
Terminal window
1
sudosystemctlenable--nowsystemd-resolved
As soon as the service started, the DNS pipeline resolved cleanly. OpenVPN assigned the proper public nameservers, the browser began loading pages normally, and a quick geolocation check showed a successful external connection.
Act III: The Speed Bottleneck and the Failure Loop#
Once the terminal connection worked, I wanted to automate it so it would launch cleanly upon system boot. I put together a simple systemd background service file called vpn-failover.service backed by a basic bash wrapper script. I organized the configuration profiles into a hierarchy: udp25000 as the primary link, udp53 as a backup, and tcp443 as a last resort.
The Problem
The failover script worked fine, but the actual network performance dropped to an absolute crawl. The bandwidth was so constrained that even basic documentation pages struggled to render, and my real-time code tools kept dropping connections.
The Realization
I was trying to optimize a resource that was fundamentally overloaded. Free public VPN servers share their bandwidth with thousands of simultaneous users globally for high-volume downloading and automated scraping. No amount of local script optimization can fix a remote server interface that is saturated at the hardware level.
Act IV: Evaluating Alternatives Under a Strict Budget#
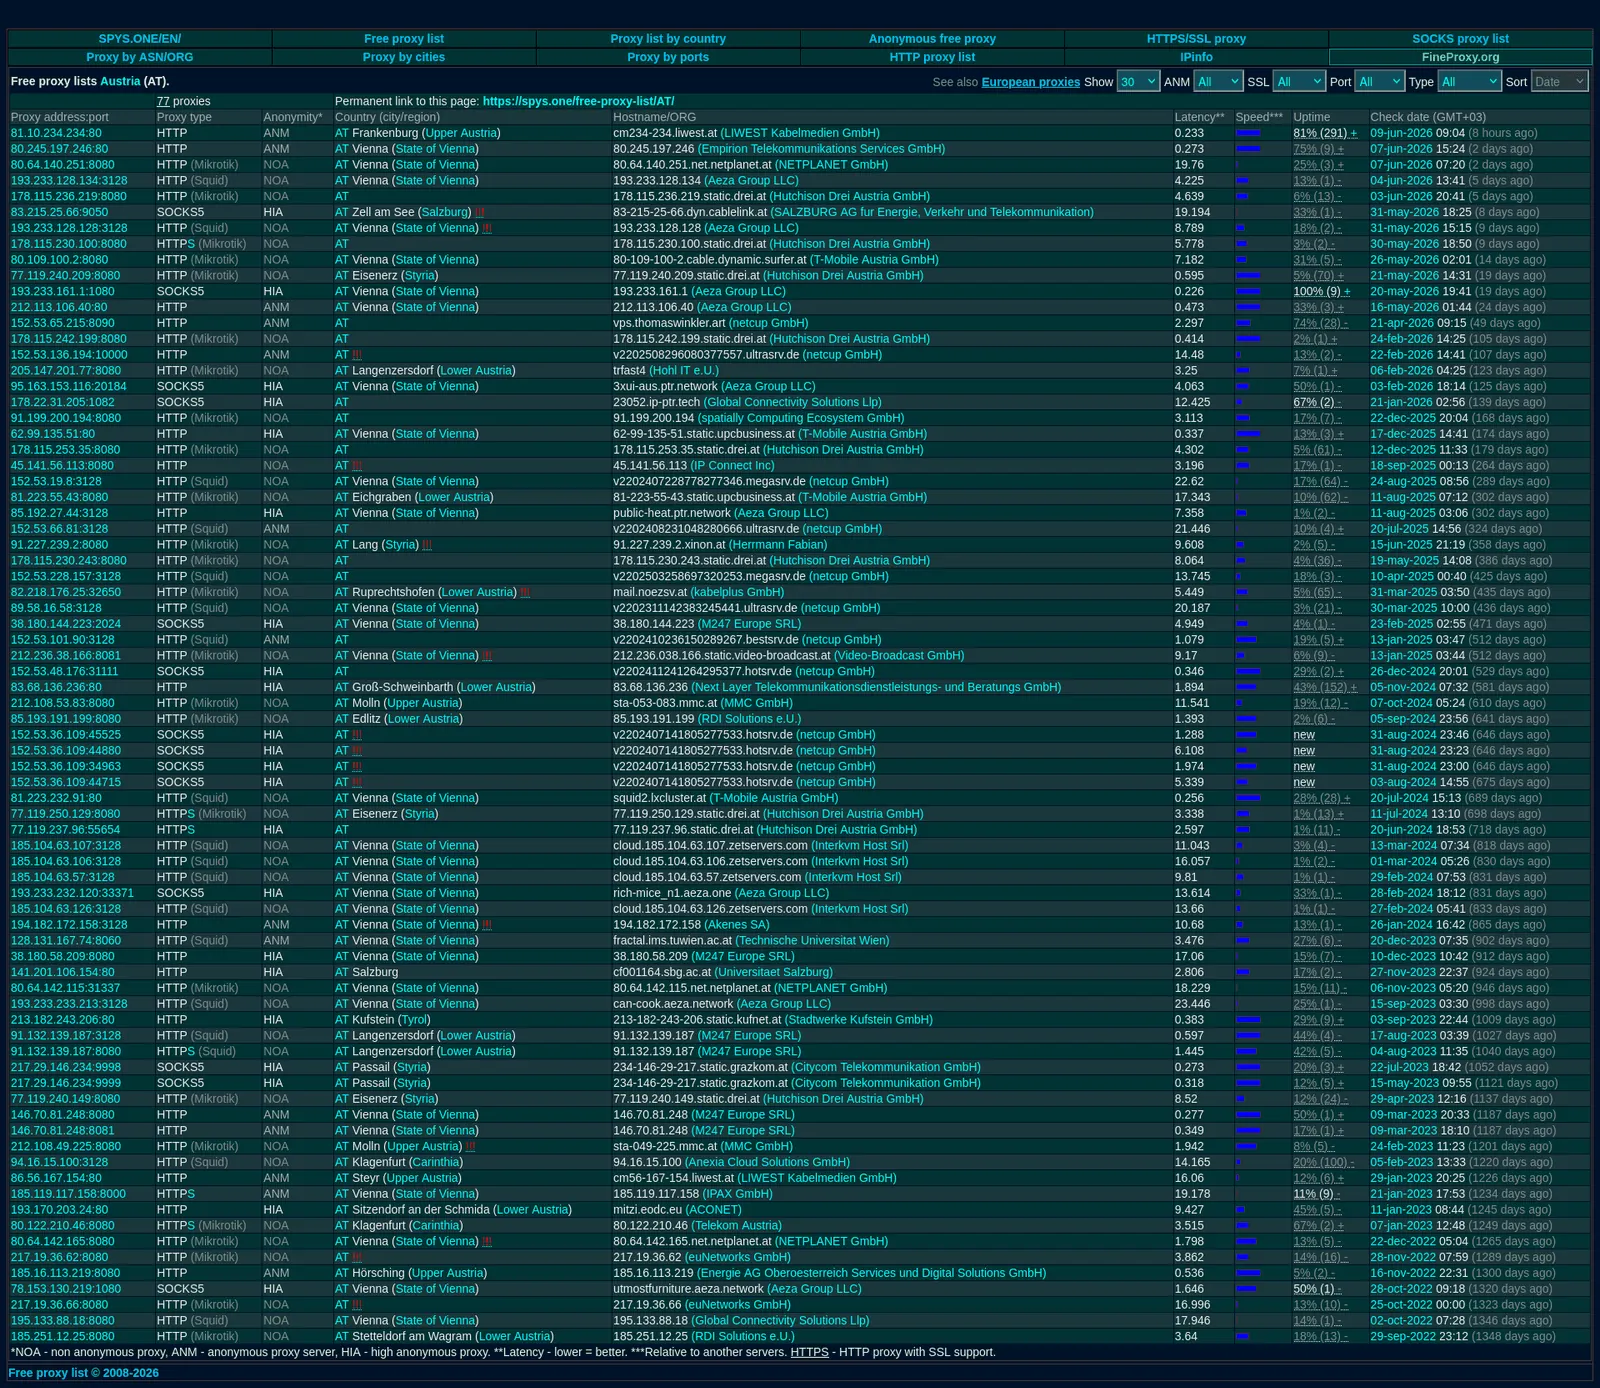
Faced with unusable public speeds, I looked into commercial alternatives, specifically considering a dedicated private proxy for $2.50 per month. I hoped it would provide a lightweight, application-level tunnel for my development tools.
Before committing, I realized there were two major constraints:
The ASN Reputational Block: Most affordable private proxies are assigned to IP blocks owned by commercial data centers. Modern AI firewalls actively scan these Autonomous System Numbers (ASNs). When platforms like GCP or AWS or claude detect traffic coming from a commercial server rack instead of a residential consumer ISP, they often flag it as a bot, leading to continuous CAPTCHA challenges or total access blocks.
The Budget Ceiling: I checked my card balance and noted a strict limit of exactly $7.75. This completely ruled out major commercial VPN providers, which typically require an upfront payment of $10 to $15 for a single month.
Act V: Implementing a Budget-Friendly Custom Plan#
To find a middle ground between clean IP reputation, reliable access, and a strict financial limit, I looked into flexible plans and settled on a custom “Build-A-Plan” tier through Windscribe. It allows users to purchase access to specific server locations individually for 1each,witha3 minimum purchase requirement.
I put together a basic configuration:
Premium Server Access for the first needed <region> node: $1.00
Premium Server Access for the second needed <region> node: $1.00
Unlimited Data and Security Profile Upgrade: $1.00
Total Cost: $3.00
This fit comfortably within the budget, leaving a safe balance of $4.75 on the card while unlocking unthrottled access to commercial consumer-grade routing lines.
To simplify management, I decided to install the official graphical user interface desktop application from the Arch User Repository rather than managing raw configuration files manually:
Terminal window
1
yay-Swindscribe-v2-bin
The system compiled the assets, but during the final installation phase, Pacman blocked the transaction with a clear dependency error:
error: unresolvable package conflicts detected (windscribe-v2-bin and python-windscribe-git are in conflict).
The Final Fix
An older, third-party package left over on my system was trying to claim ownership of the same directory paths. I ran a quick removal command to clear the old dependency, re-ran the installer to pull from the cached build files, and started the background management daemon:
Logging into the official application provided a much more structured setup than the raw terminal scripts:
Protocol Optimization: I opened the connection preferences and switched the driver from OpenVPN to WireGuard. Because WireGuard operates directly within the Linux kernel space rather than processing packets through user-space transitions, connection speeds immediately saturated my home bandwidth capacity.
Split Tunneling: I enabled application-level routing so that only Firefox and my specific IDE processes route through the premium <region> node. This keeps my identity completely consistent on cloud services while leaving my core system updates, local containers, and general utilities running on my baseline home connection.
The process required fixing a few classic Linux networking traps, but the environment is now stable, the budget remains intact, and the workspace is fully functional.